Hands-On Review
SUNLU T3
There’s never been a better time to get into 3D printing as it’s become incredibly accessible in both cost and usability. Features that were once only found in professional printers are now included in entry-level models, and one of the companies pushing the market in that direction is SUNLU. Historically, they’ve made filament and printing accessories, but in the past couple of years they’ve been making printers as well. Their latest model, the T3, is essentially an Ender 3 Pro clone but with some extra bells and whistles, including “Fast Mode” printing at up to 250mm/s. Other features include: dual metal gear extruder, filament runout detection, clog detection, BL Touch auto leveling, power loss resume, a magnetic flexible build plate, and silent printing. We’re going to test all of those except for clog detection because who intentionally clogs a hotend? Not this guy.
The T3 comes mostly assembled; the top gantry has to be attached to the base with four screws, the power supply screwed to the gantry, and then a cable must be connected. It’s fairly easy, though the cable is the shortest cable in the world and a tad tricky to connect. The spool holder also must be attached to the top. The assembly instructions are clear and the bags are correctly labeled, so it takes about 15 minutes to get together.
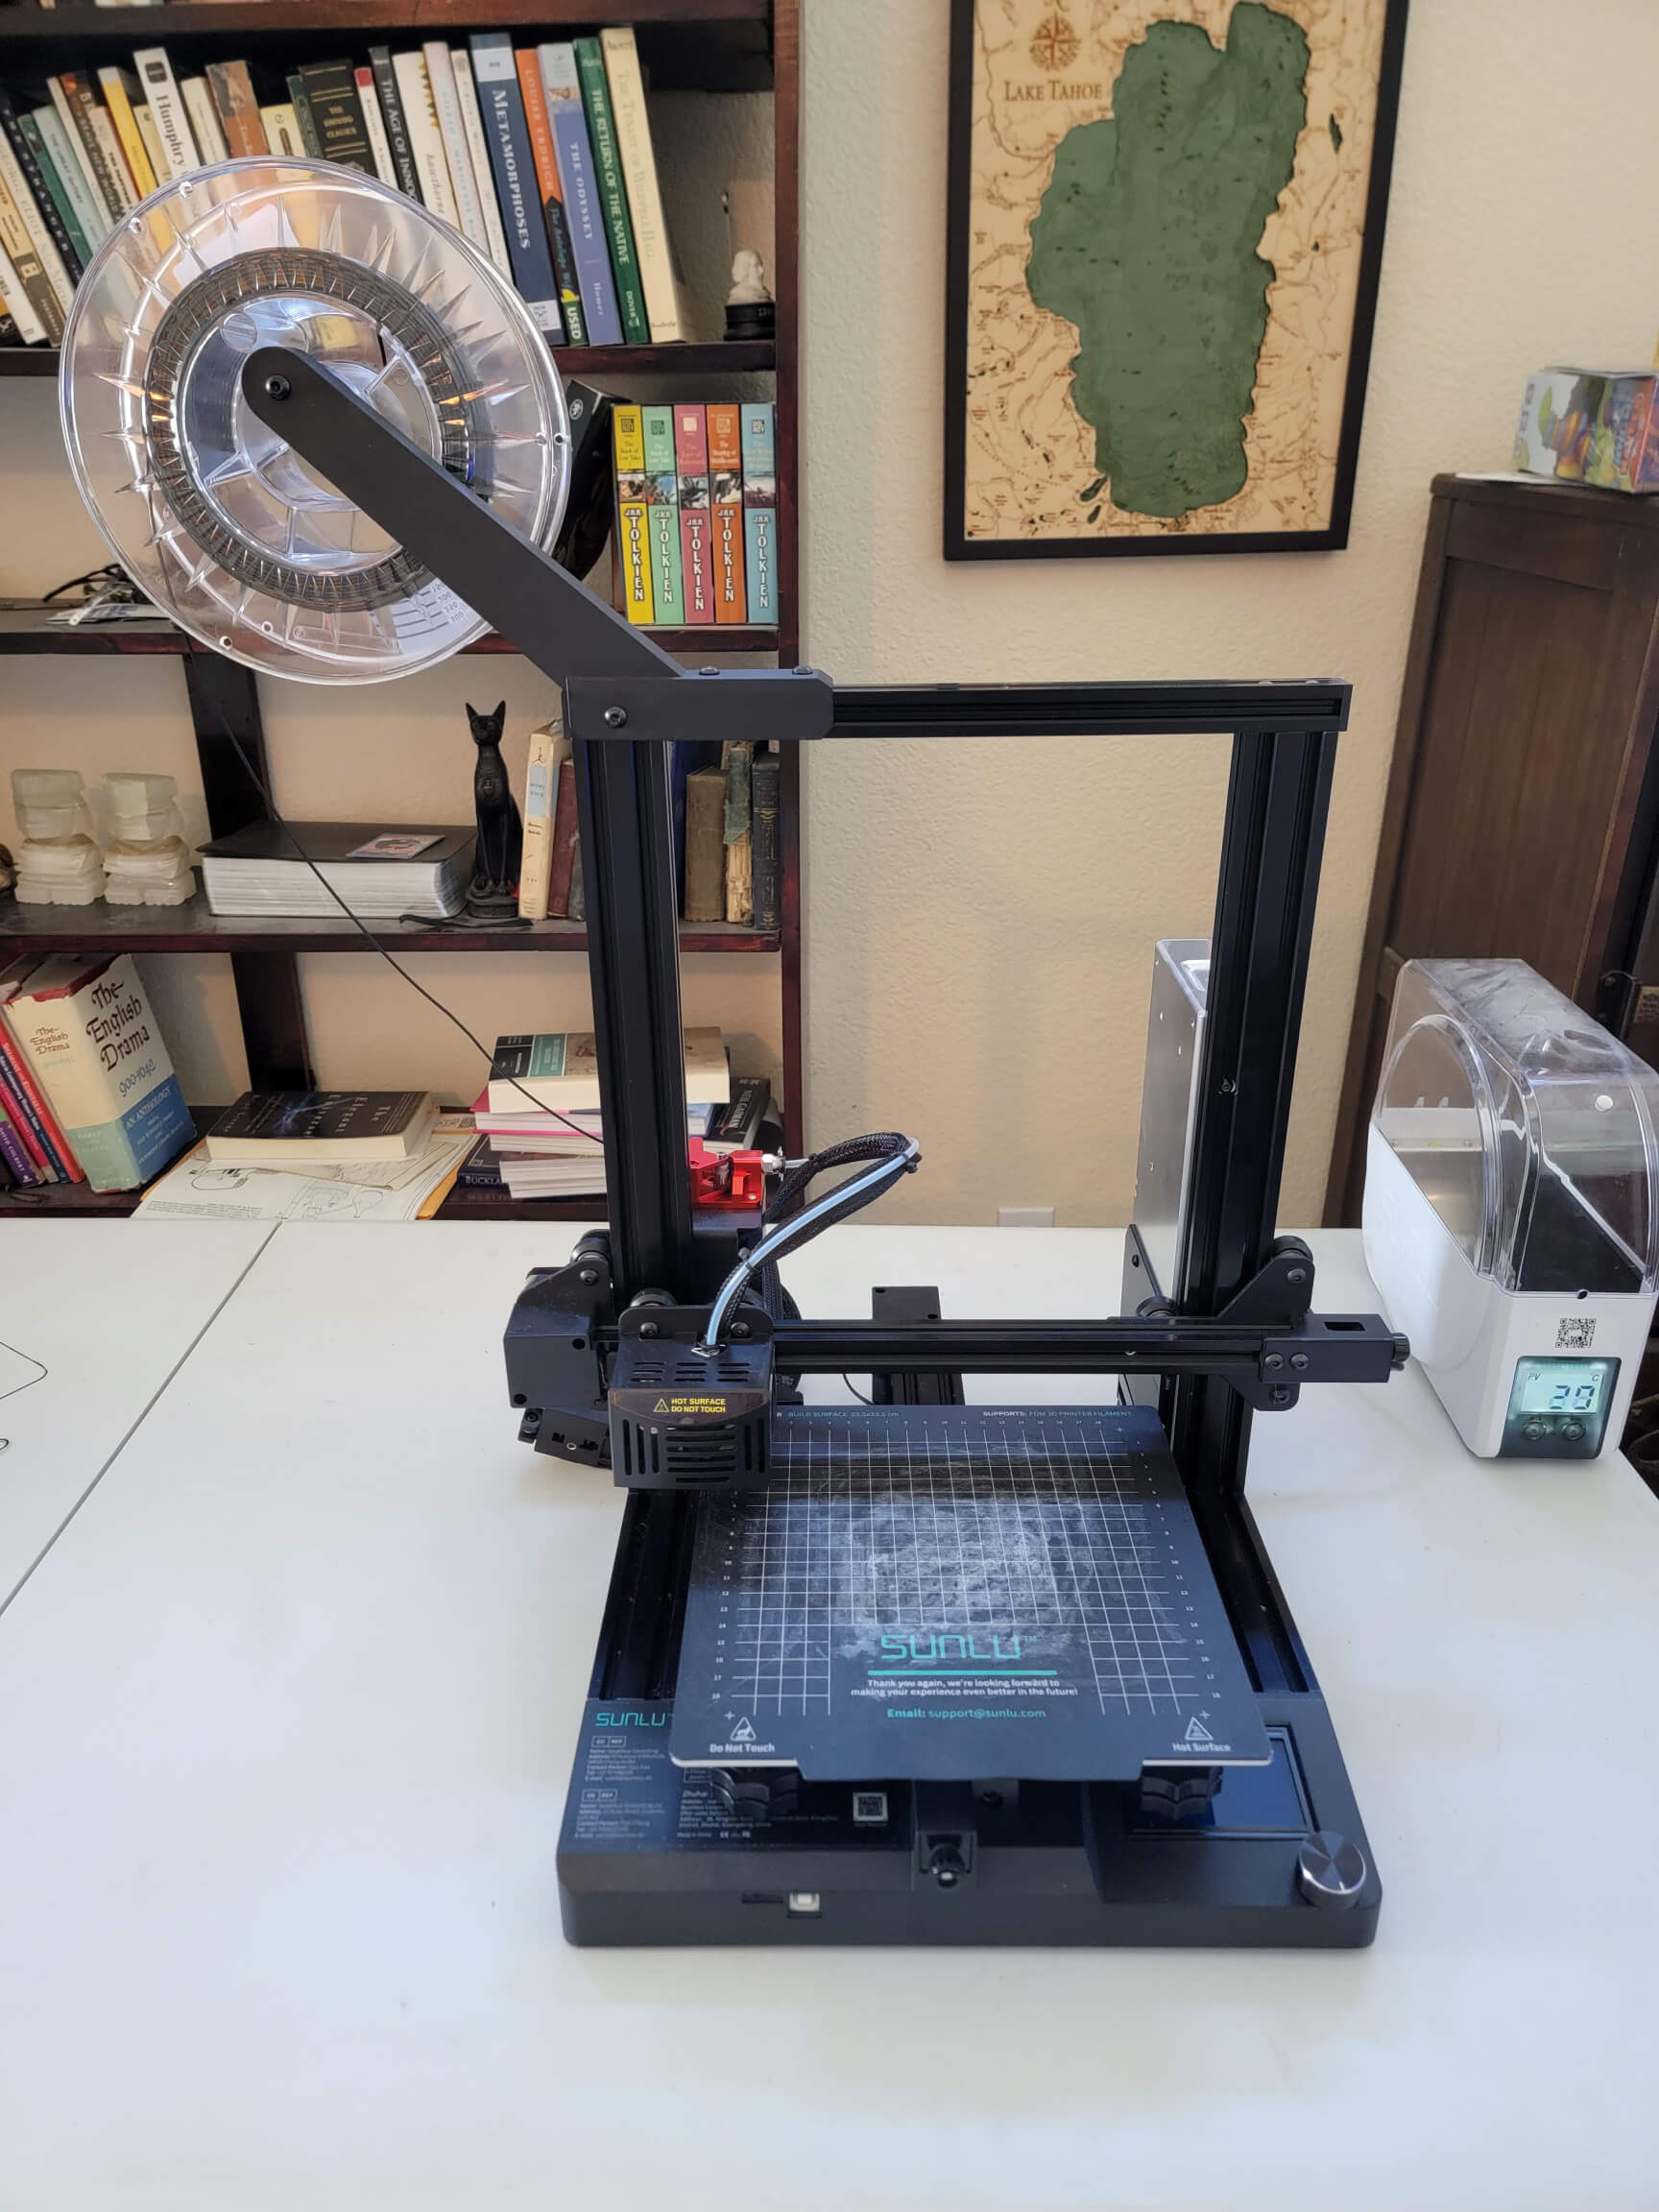

It’s a sturdy 3D printer with its all-metal frame, and the footprint is rather small for the respectable build volume of 220x220x250mm. The SUNLU filament dryer to the right is not included, I just already had one. SUNLU provides a version of CURA on the USB drive for slicing, but oddly does not provide any print profiles. It’s up to the user to create a custom profile or know to select an Ender 3 profile, which is what I did. I was optimistic and tried to do the first print with auto leveling on and without doing a manual level, and the first layer didn’t stick. It’s unfortunate but not surprising because I’ve never used a printer that could print without first being manually leveled. I tested it again after manually leveling and it worked, though the quality of the first layer was better with auto leveling turned off, and I continue the review with the setting off because that’s how I review all printers for consistency. As always, we begin with Benchy!
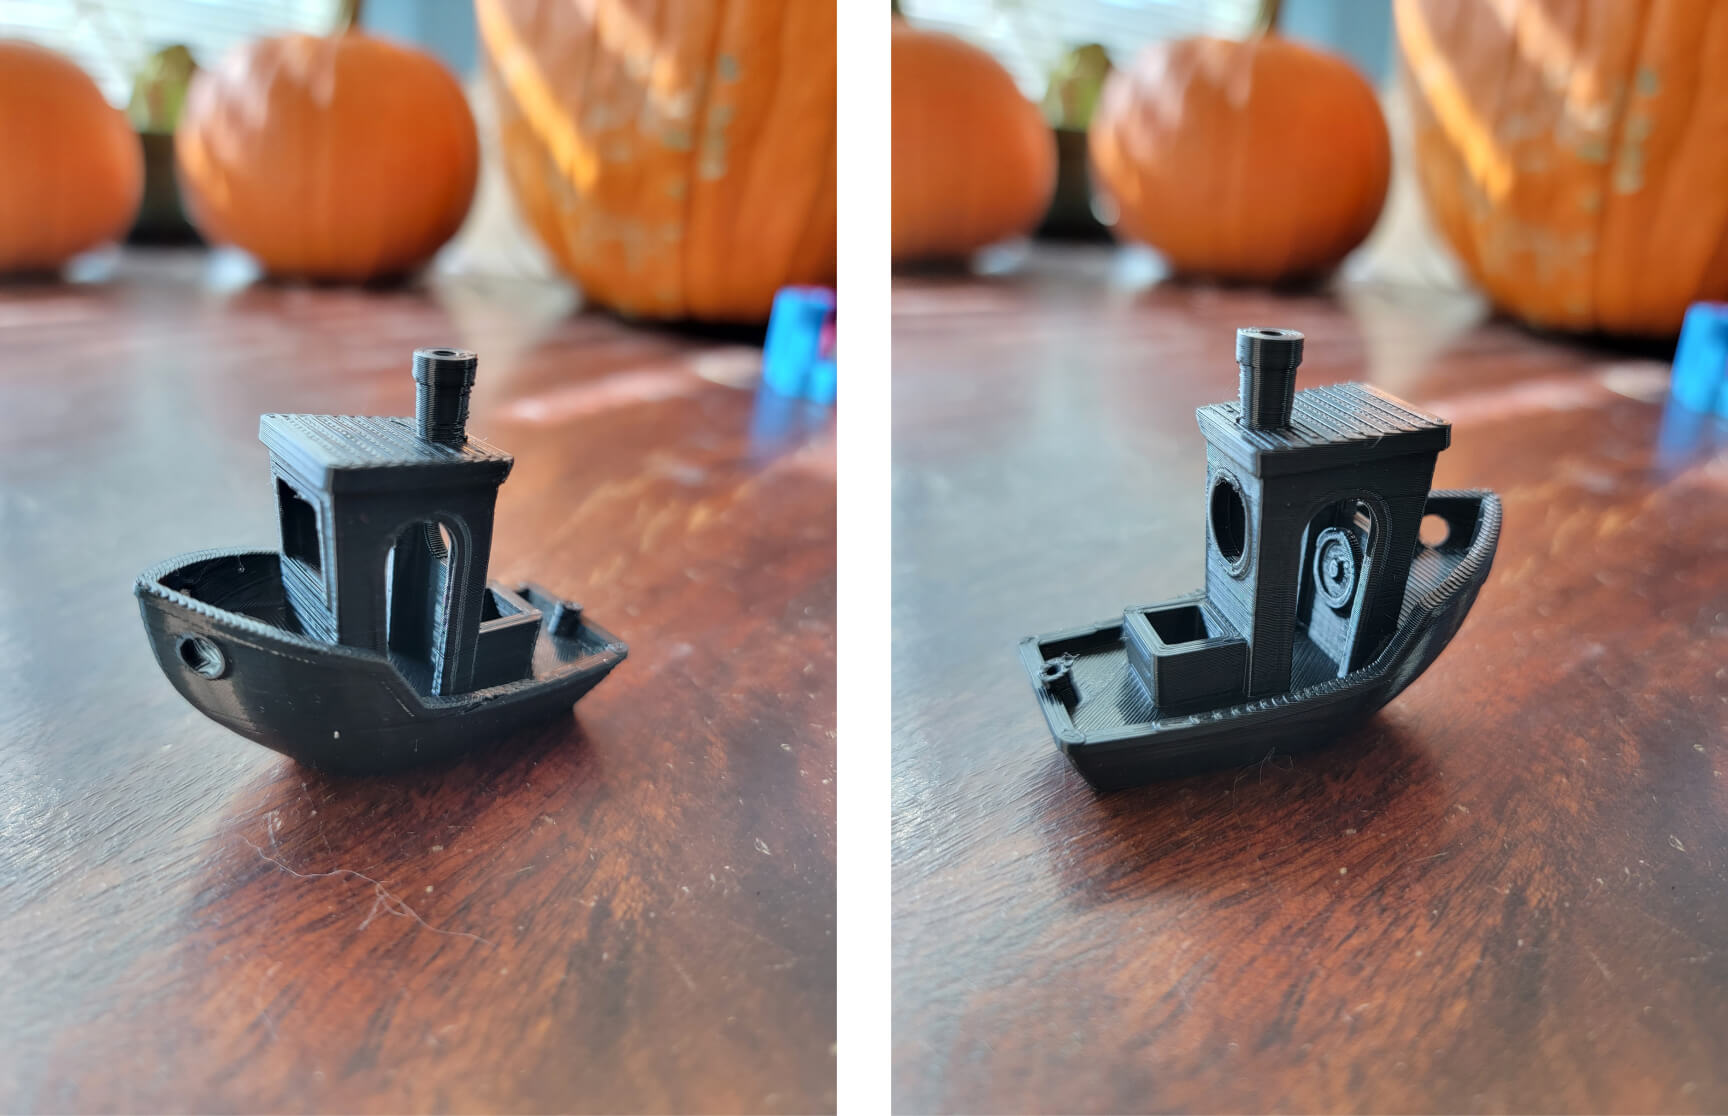

This is actually the second print because the default settings had a bit too much flow and retraction, so after reducing those slightly I got this excellent print. We have a smooth bow, clean arches and overhangs, and crisp details on the steering wheel so we’re off to a good start.
From here, I deviate a bit from my historical format of printing bridging and torture tests. I feel they produce a lot of waste and convey information that more practical or artistic prints can also convey, and I can use or give those prints away to others. For instance, the Machine Canister that I usually print remains a fantastic test print.
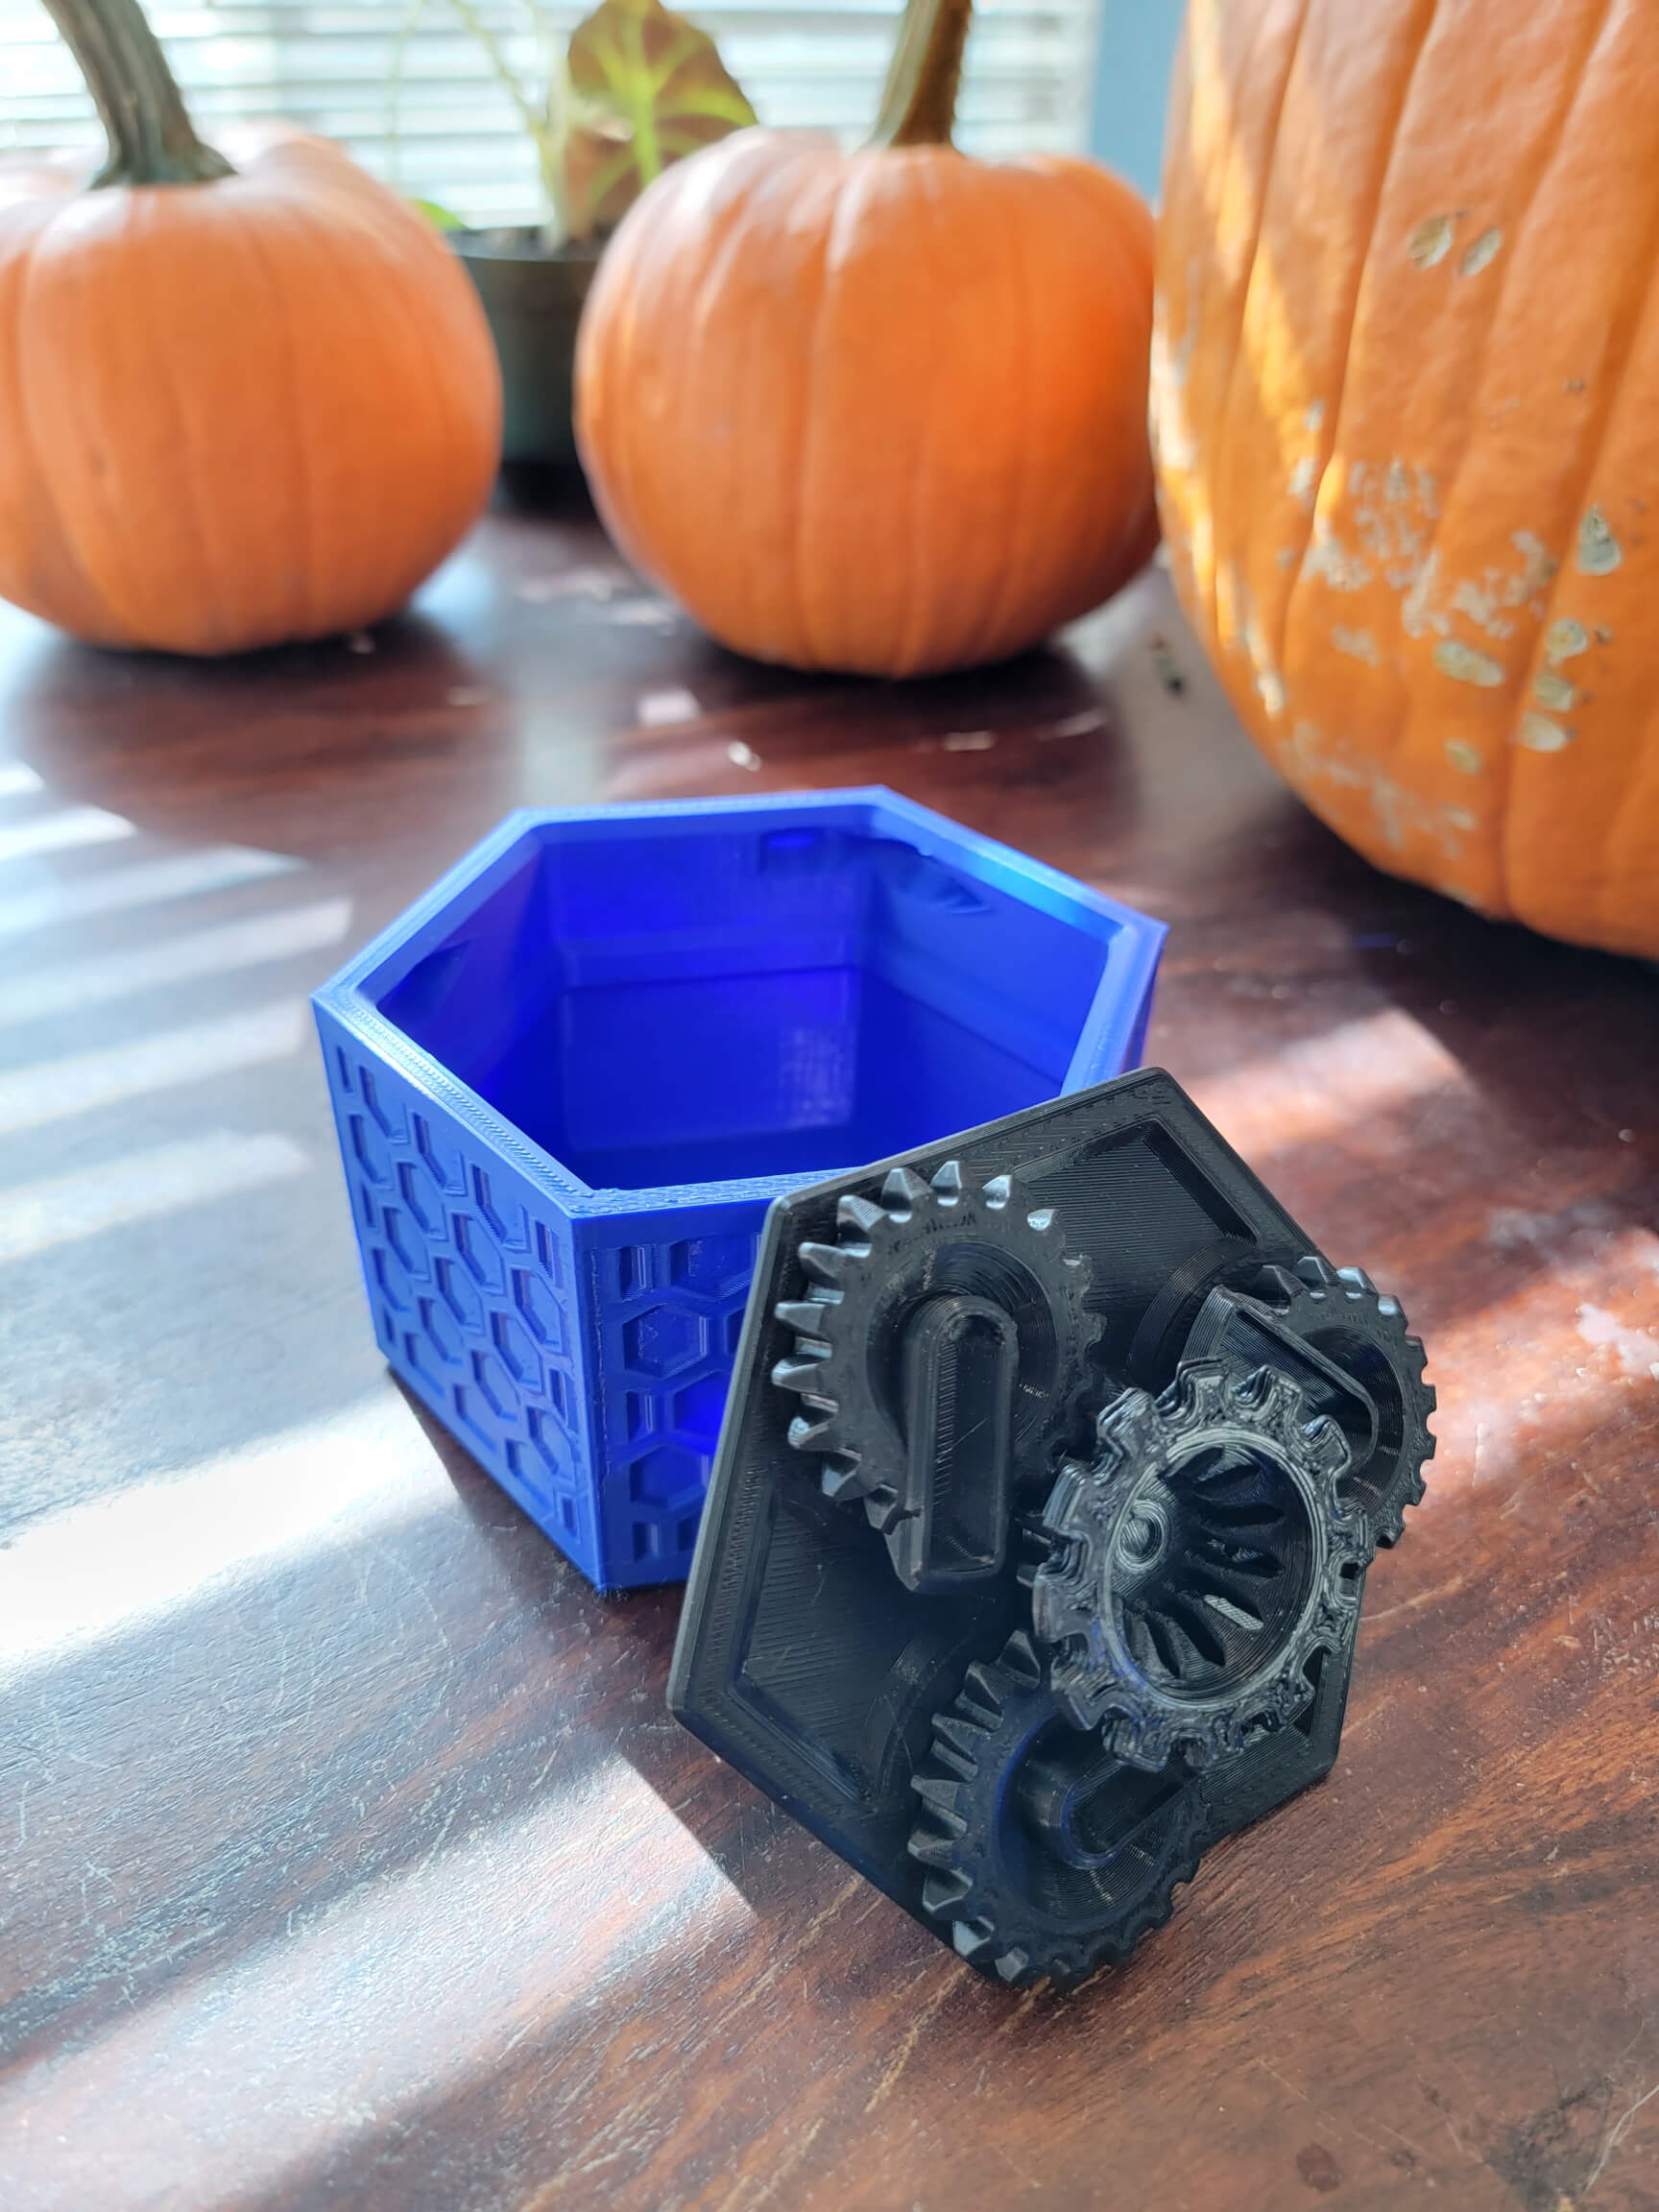
A print-in-place model like this tests tolerances and overhangs as well as alignment and rigidity, and the T3 performed admirably. The gears turn smoothly and the walls of the canister are straight, and I printed the canister moderately fast as a warmup to testing the “Fast Mode” so the results are even more impressive. The neat part is that I was able to turn the speed up on the printer after I started the print; it’s a useful feature because you can observe how the print is looking with the speed change and just keep turning it up as long as it still looks clean. It’s surprising how fast this printer can move.
As for the Fast Mode, it works but does have an issue. The hardware can certainly handle the blazing speeds, there’s just some small issue in the code that causes it to pause ever so briefly on layer changes. Normally a brief pause wouldn’t be a big deal but when printing at 250mm/s, the extrusion pressure is so great that a small dot forms in that spot, and after a few layers of that, the dot grows into a blob and then snowballs into a failed print. I tried it with my sliced file as well as the only pre-sliced file that SUNLU provides for the T3 and they both exhibited the same problem. I feel it has something to do with retraction but I’m no expert; it will likely be fixed in a firmware update at some point. The good news is that very fast printing can be achieved on the T3 without using Fast Mode because you can just crank up the speed on the printer manually or slice at 250mm/s. That’s what I did to print this Chained Hatch Container.
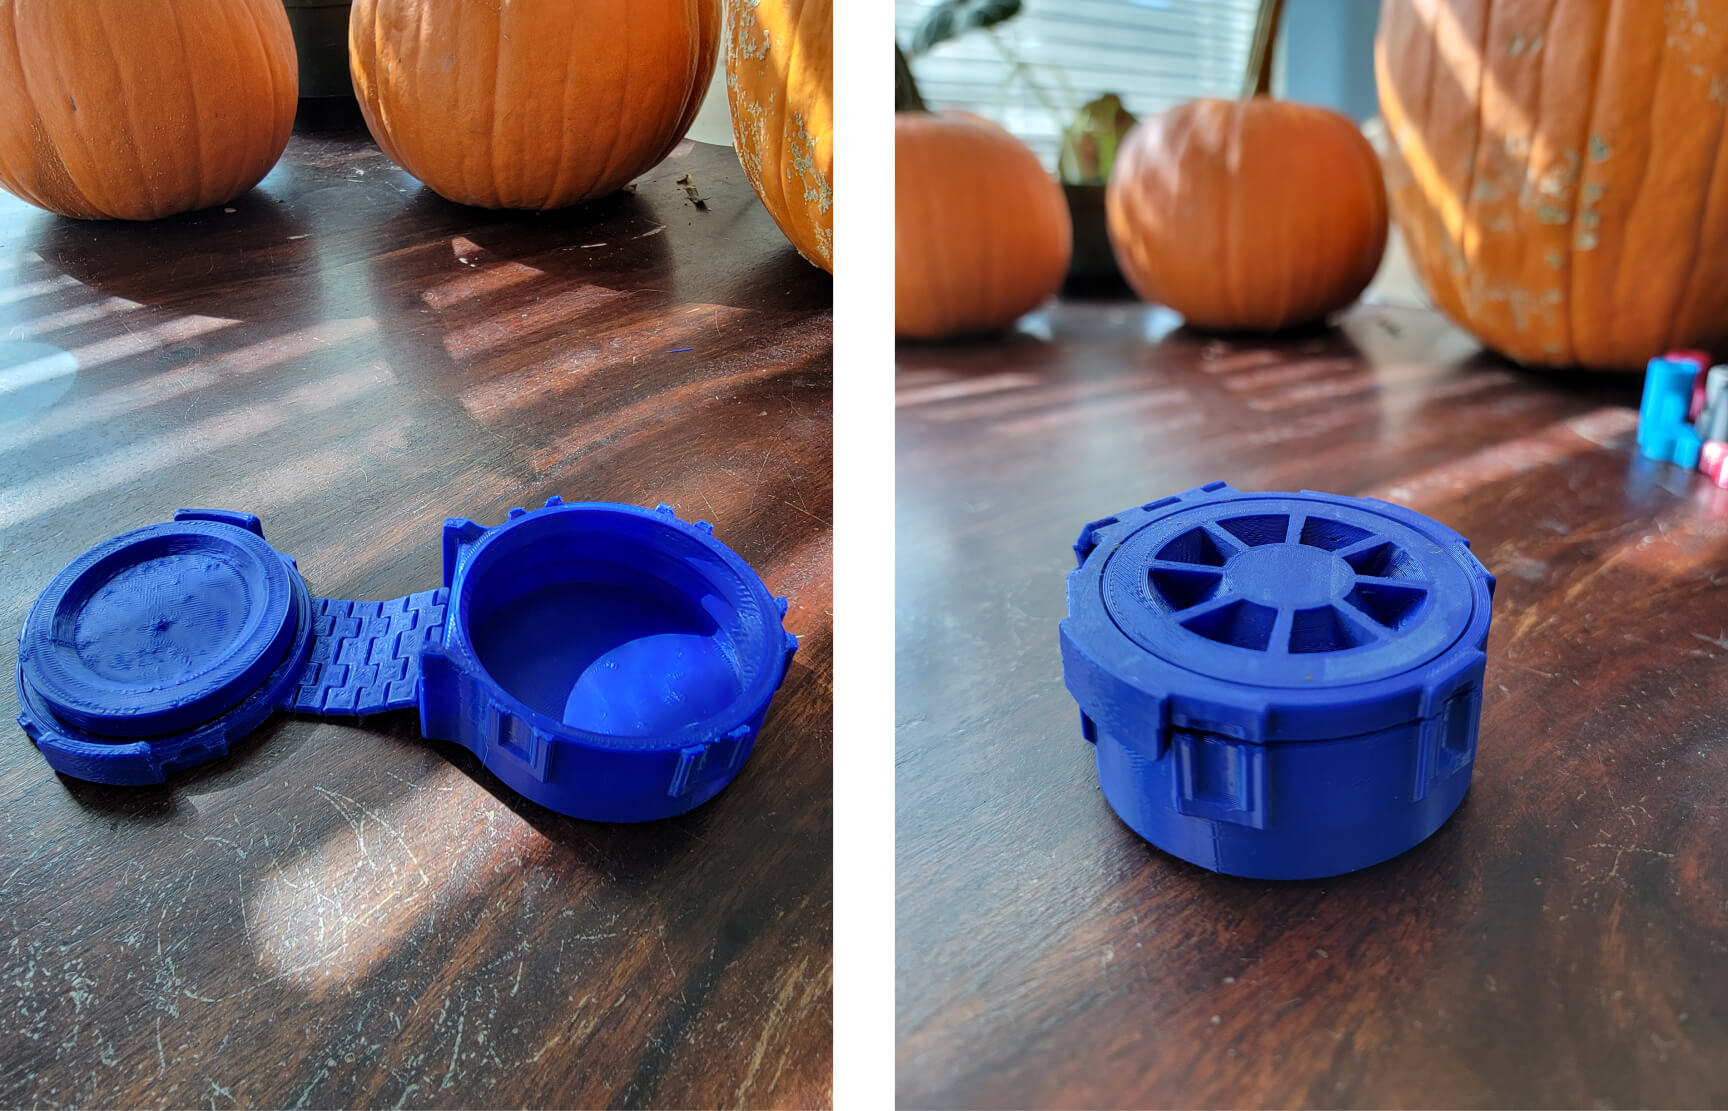

It looks quite good for being printed as a blur, and it functions as it should: the top twists to lock/unlock fairly smoothly (after some turning) and the hinges hinge well. The top surfaces have some imperfections because I turned the infill down too low for this print speed, so that’s not the printer’s fault. To be clear, printing at 250mm/s doesn’t mean it’s printing that speed constantly because it’s typical to slow down for outer perimeters and solid layers. Still, this container took only four hours to print at a decent quality setting of 0.2mm layers. On most printers it would take about seven hours. To churn out a mechanical part with so many moving parts at these speeds is kind of astonishing, especially at this price point. Next, I tested material compatibility by printing a prototype part that bears a load, so this is a great way to learn what material works best for the application.
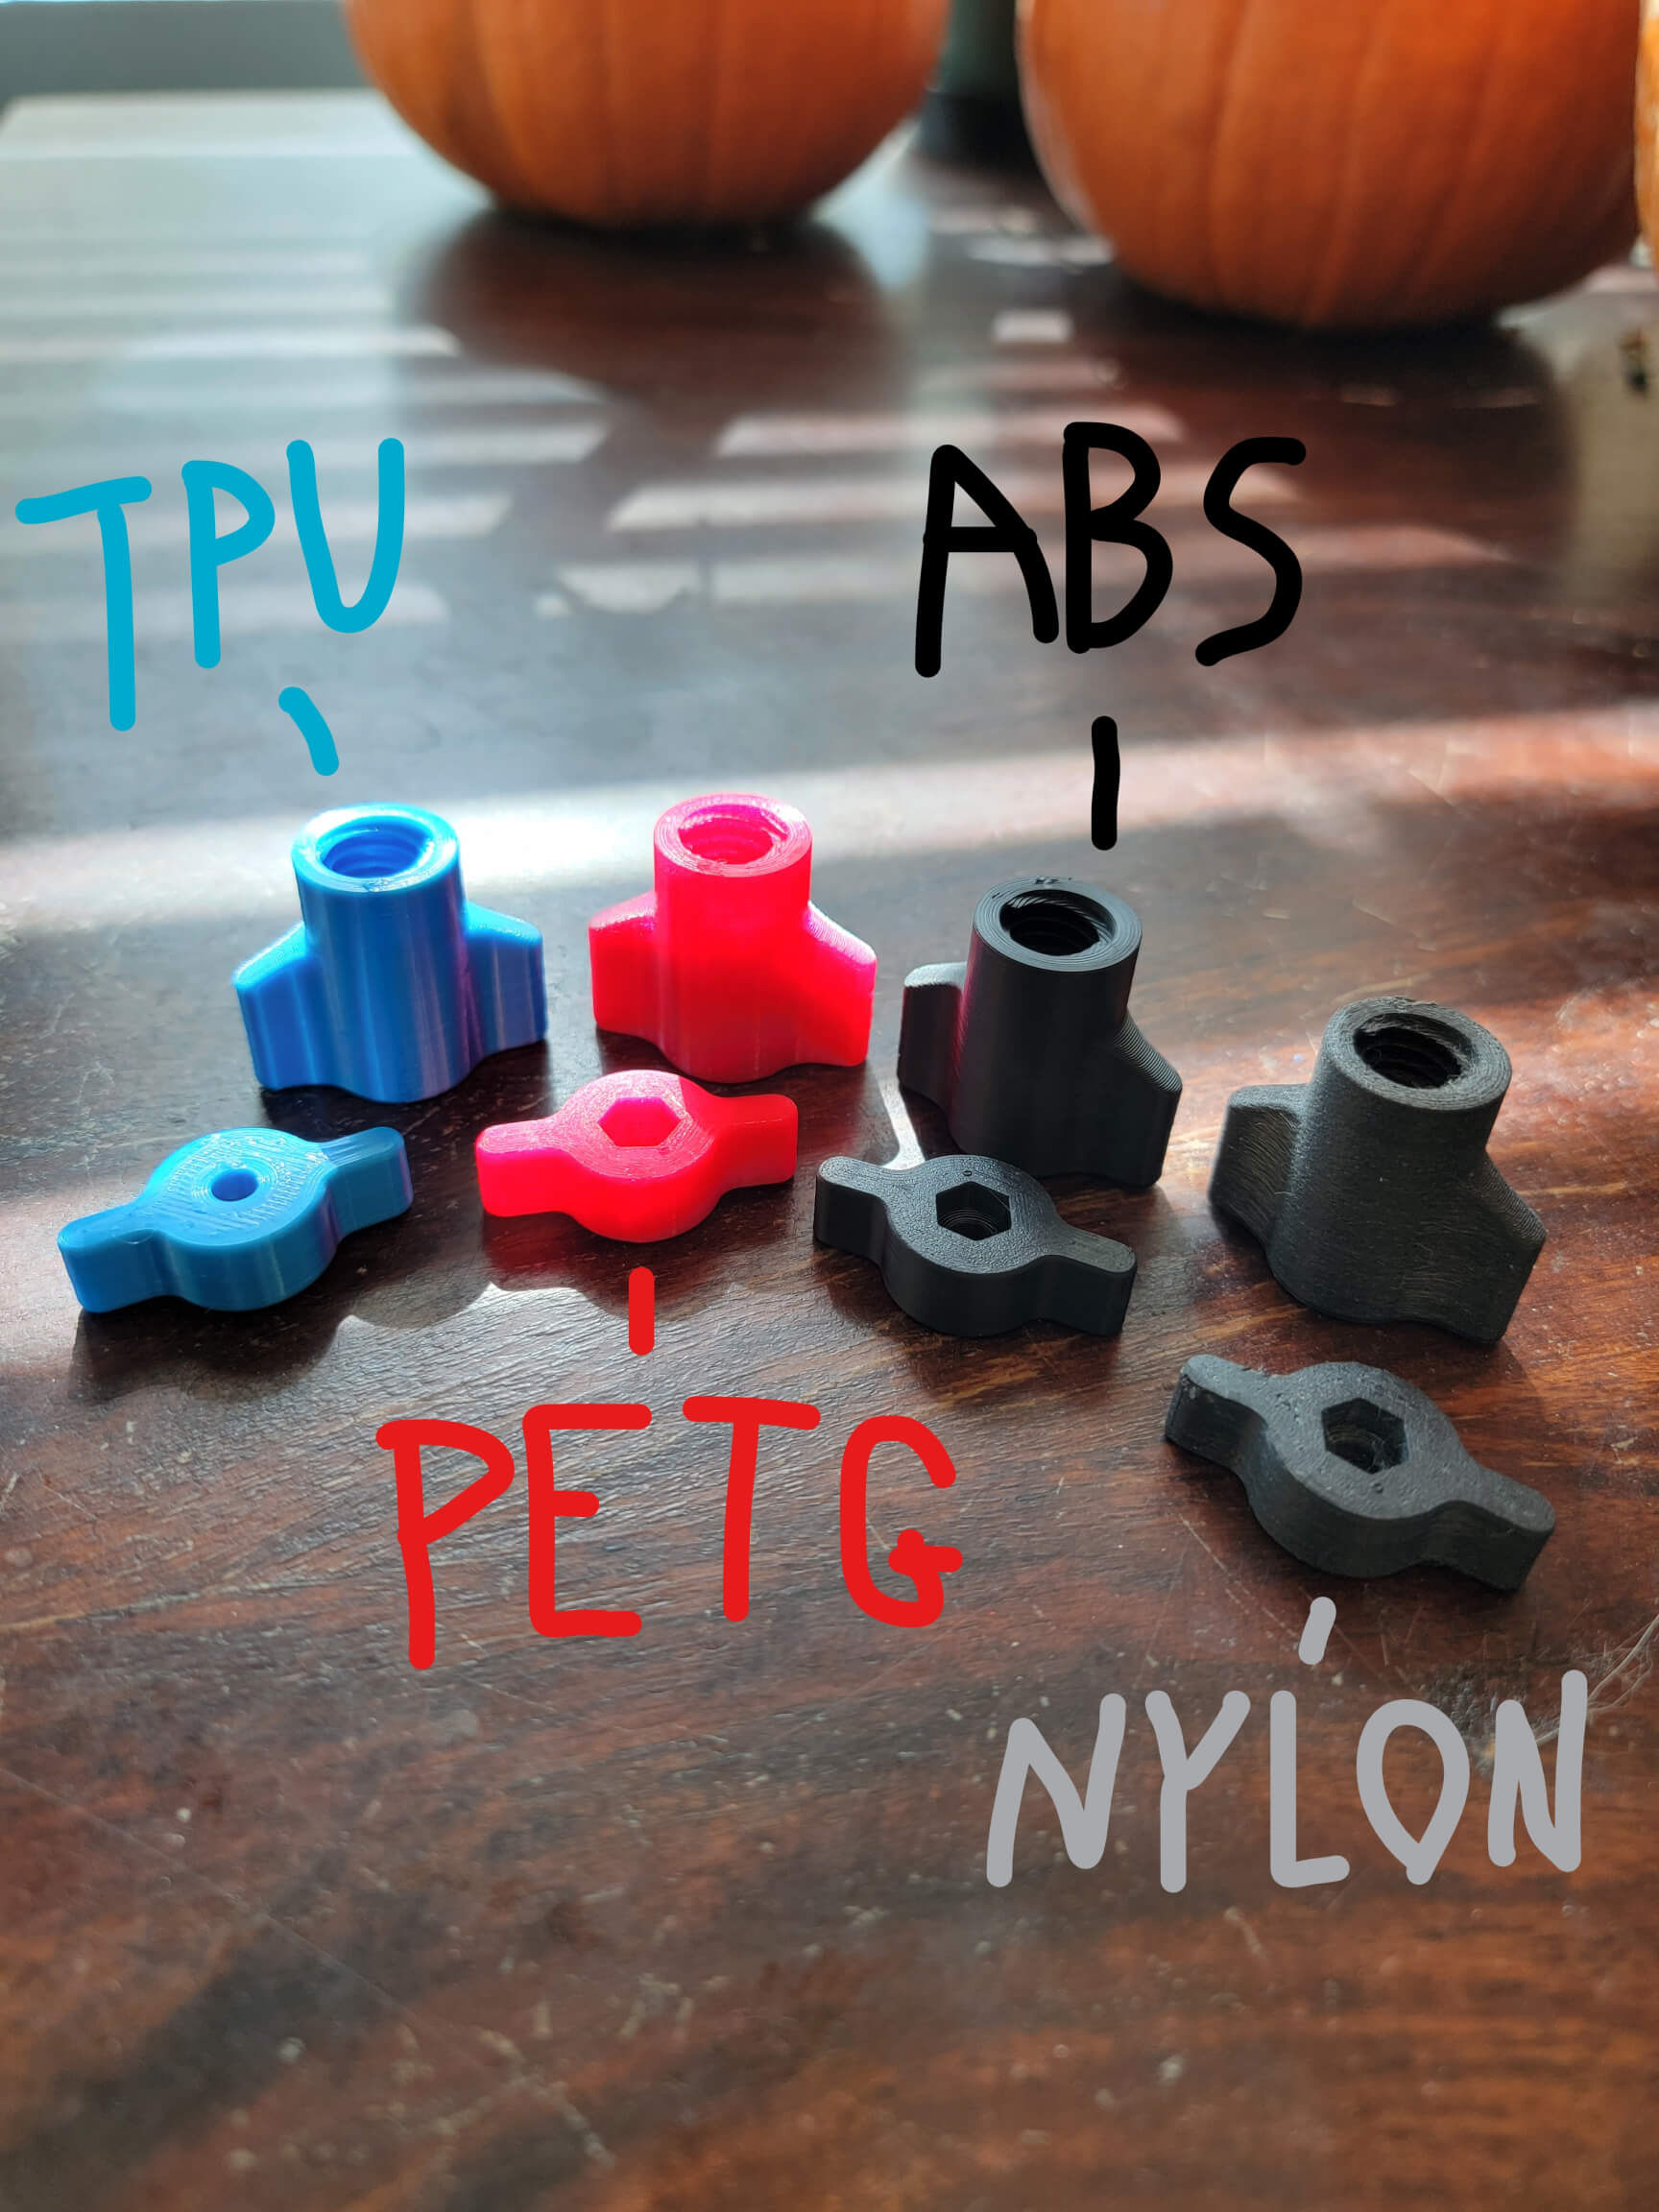
The flexible TPU and PETG printed extremely well with no issues; the glossy finish on the TPU is as silky as it looks. The ABS and Nylon required a bit of glue on the bed to stick but they did fine after that. The Nylon was a bit stringy but that’s probably because I forgot to dry it. Always dry your Nylon, kids. All of the parts came out fine with the internal threads preserved. To see how the T3 handles high-quality printing, and in the spirit of the season, I printed this Fester Addams Bust.
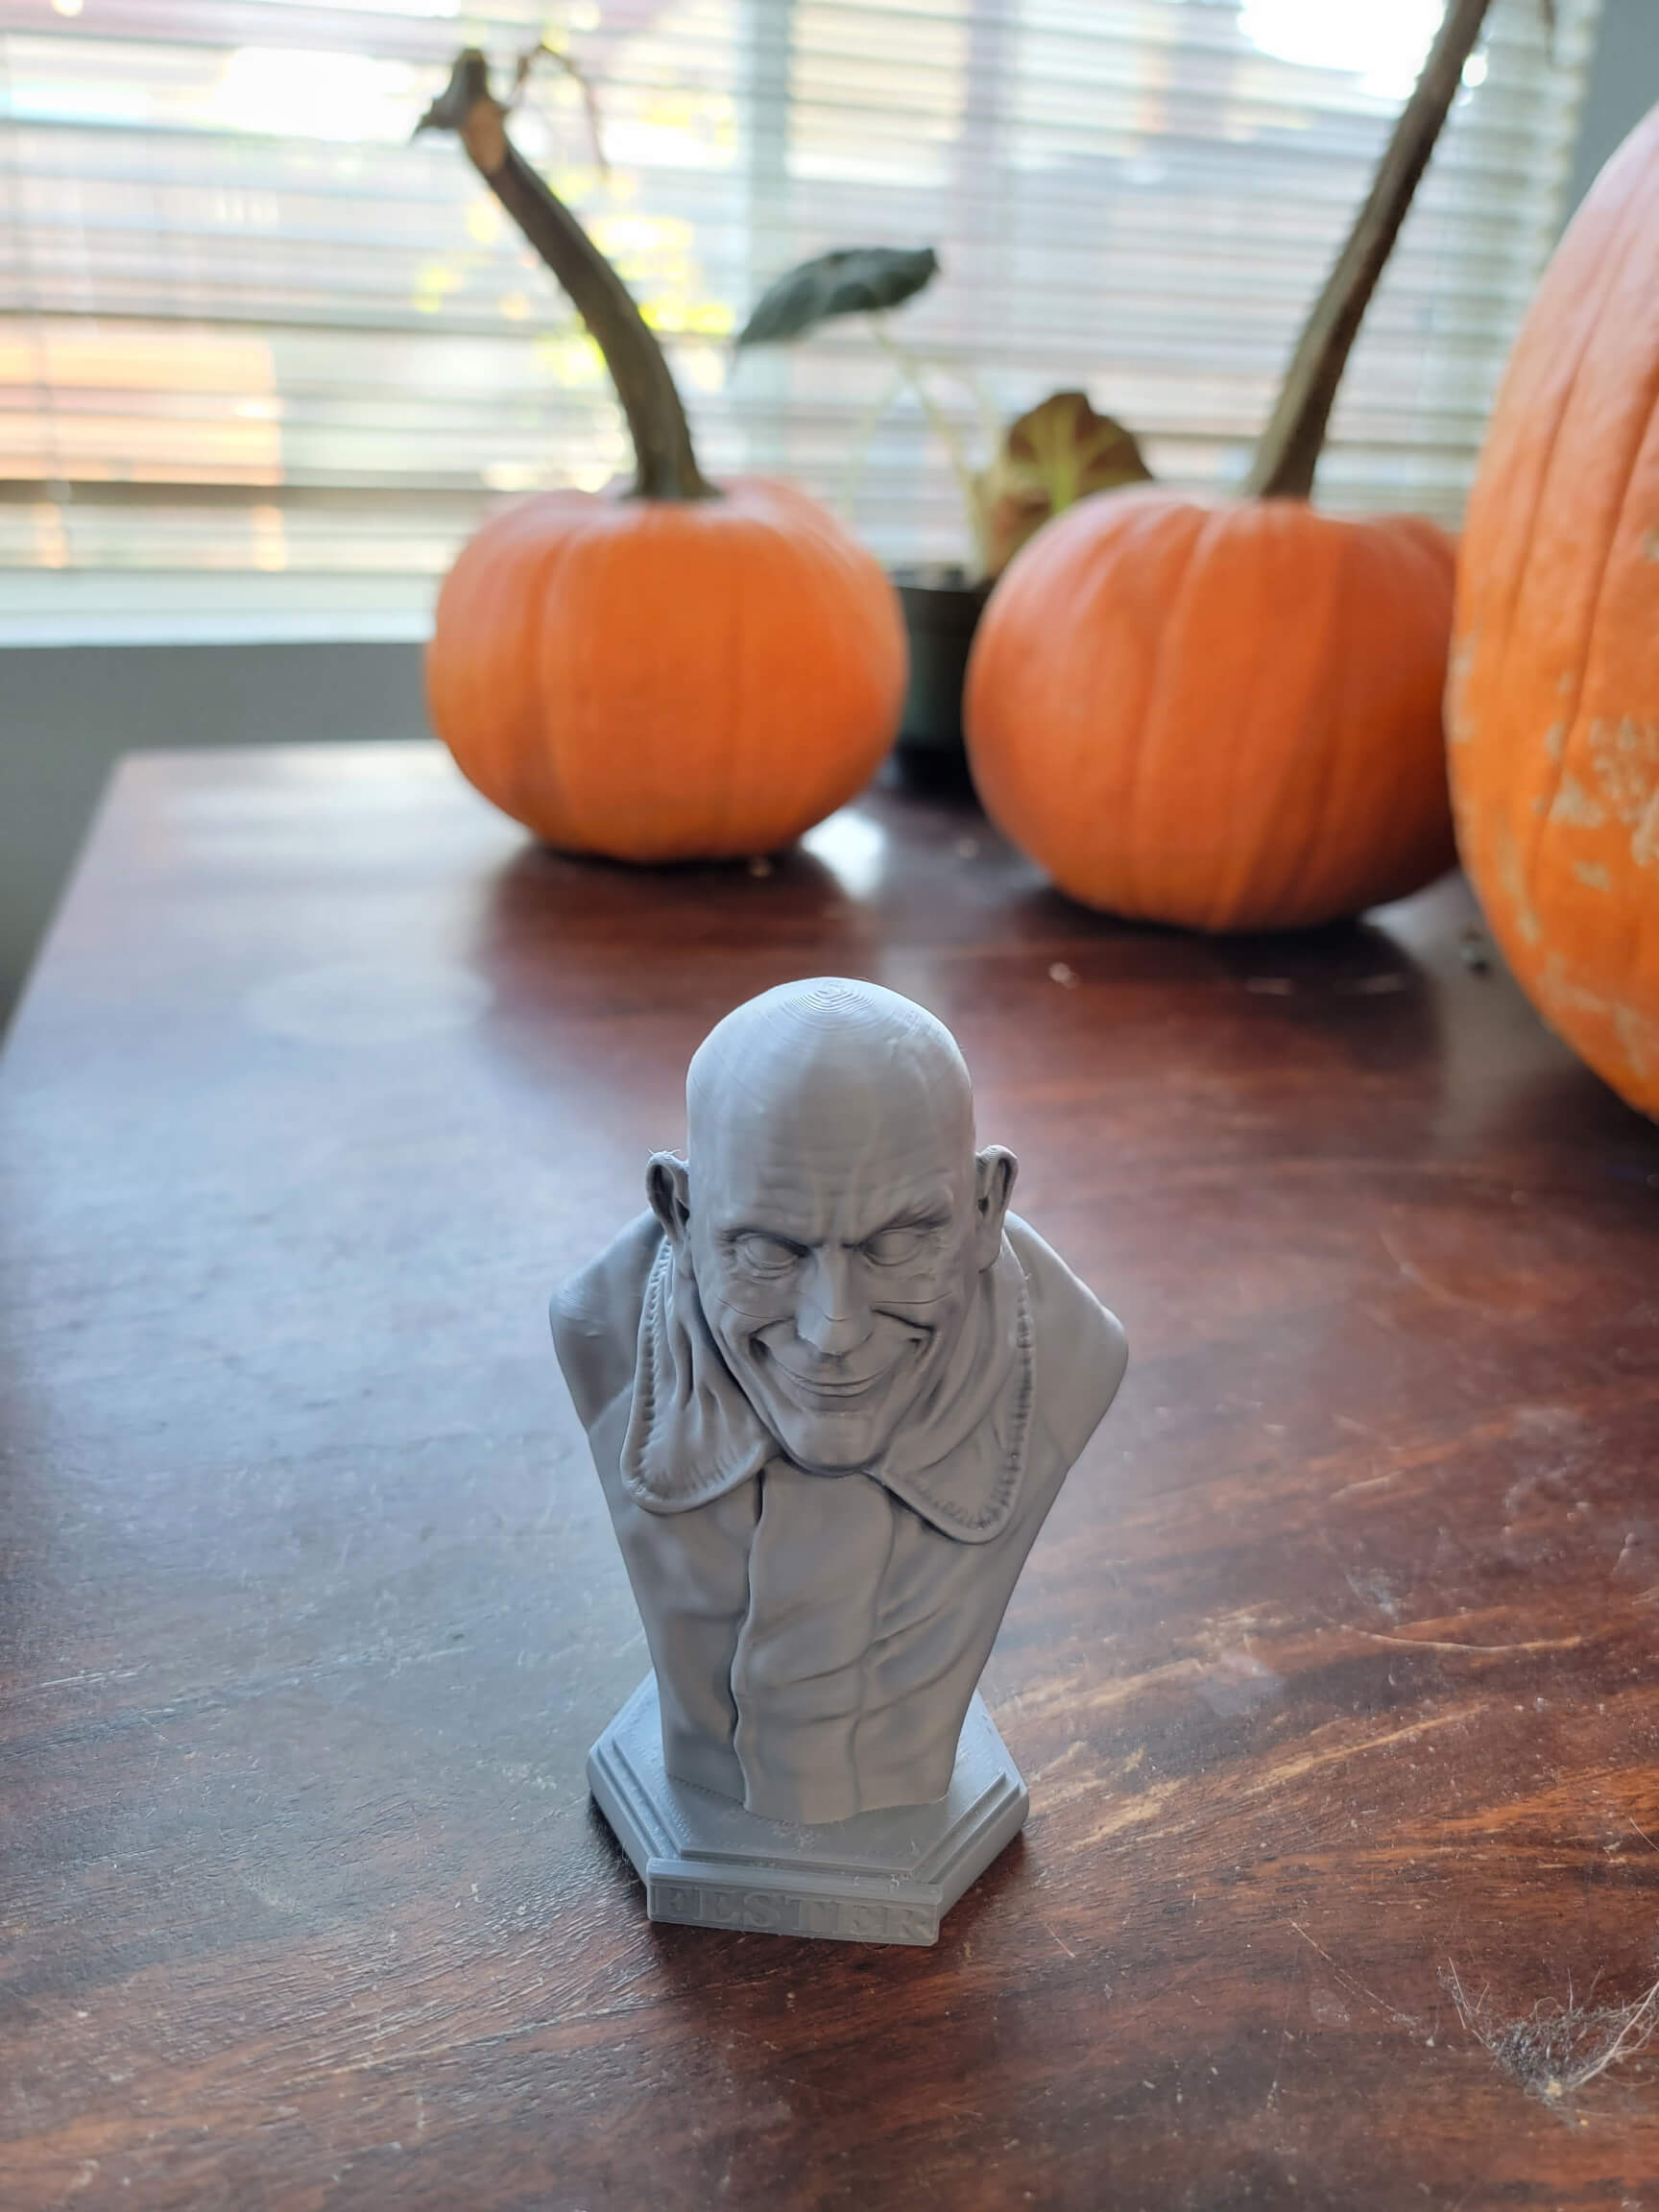
This was printed at 0.1mm layers, but to keep things interesting, I turned the speed up to 150mm/s so this took only about 5 hours to print. The details are captured amazingly well, and it’s impossible to tell that it was printed so quickly. The delamination is due to being printed in ABS without an enclosure, so it’s not a fault in the print. Finally, I like to do a height test so this slightly modified Lamp Shade fits the bill nicely.
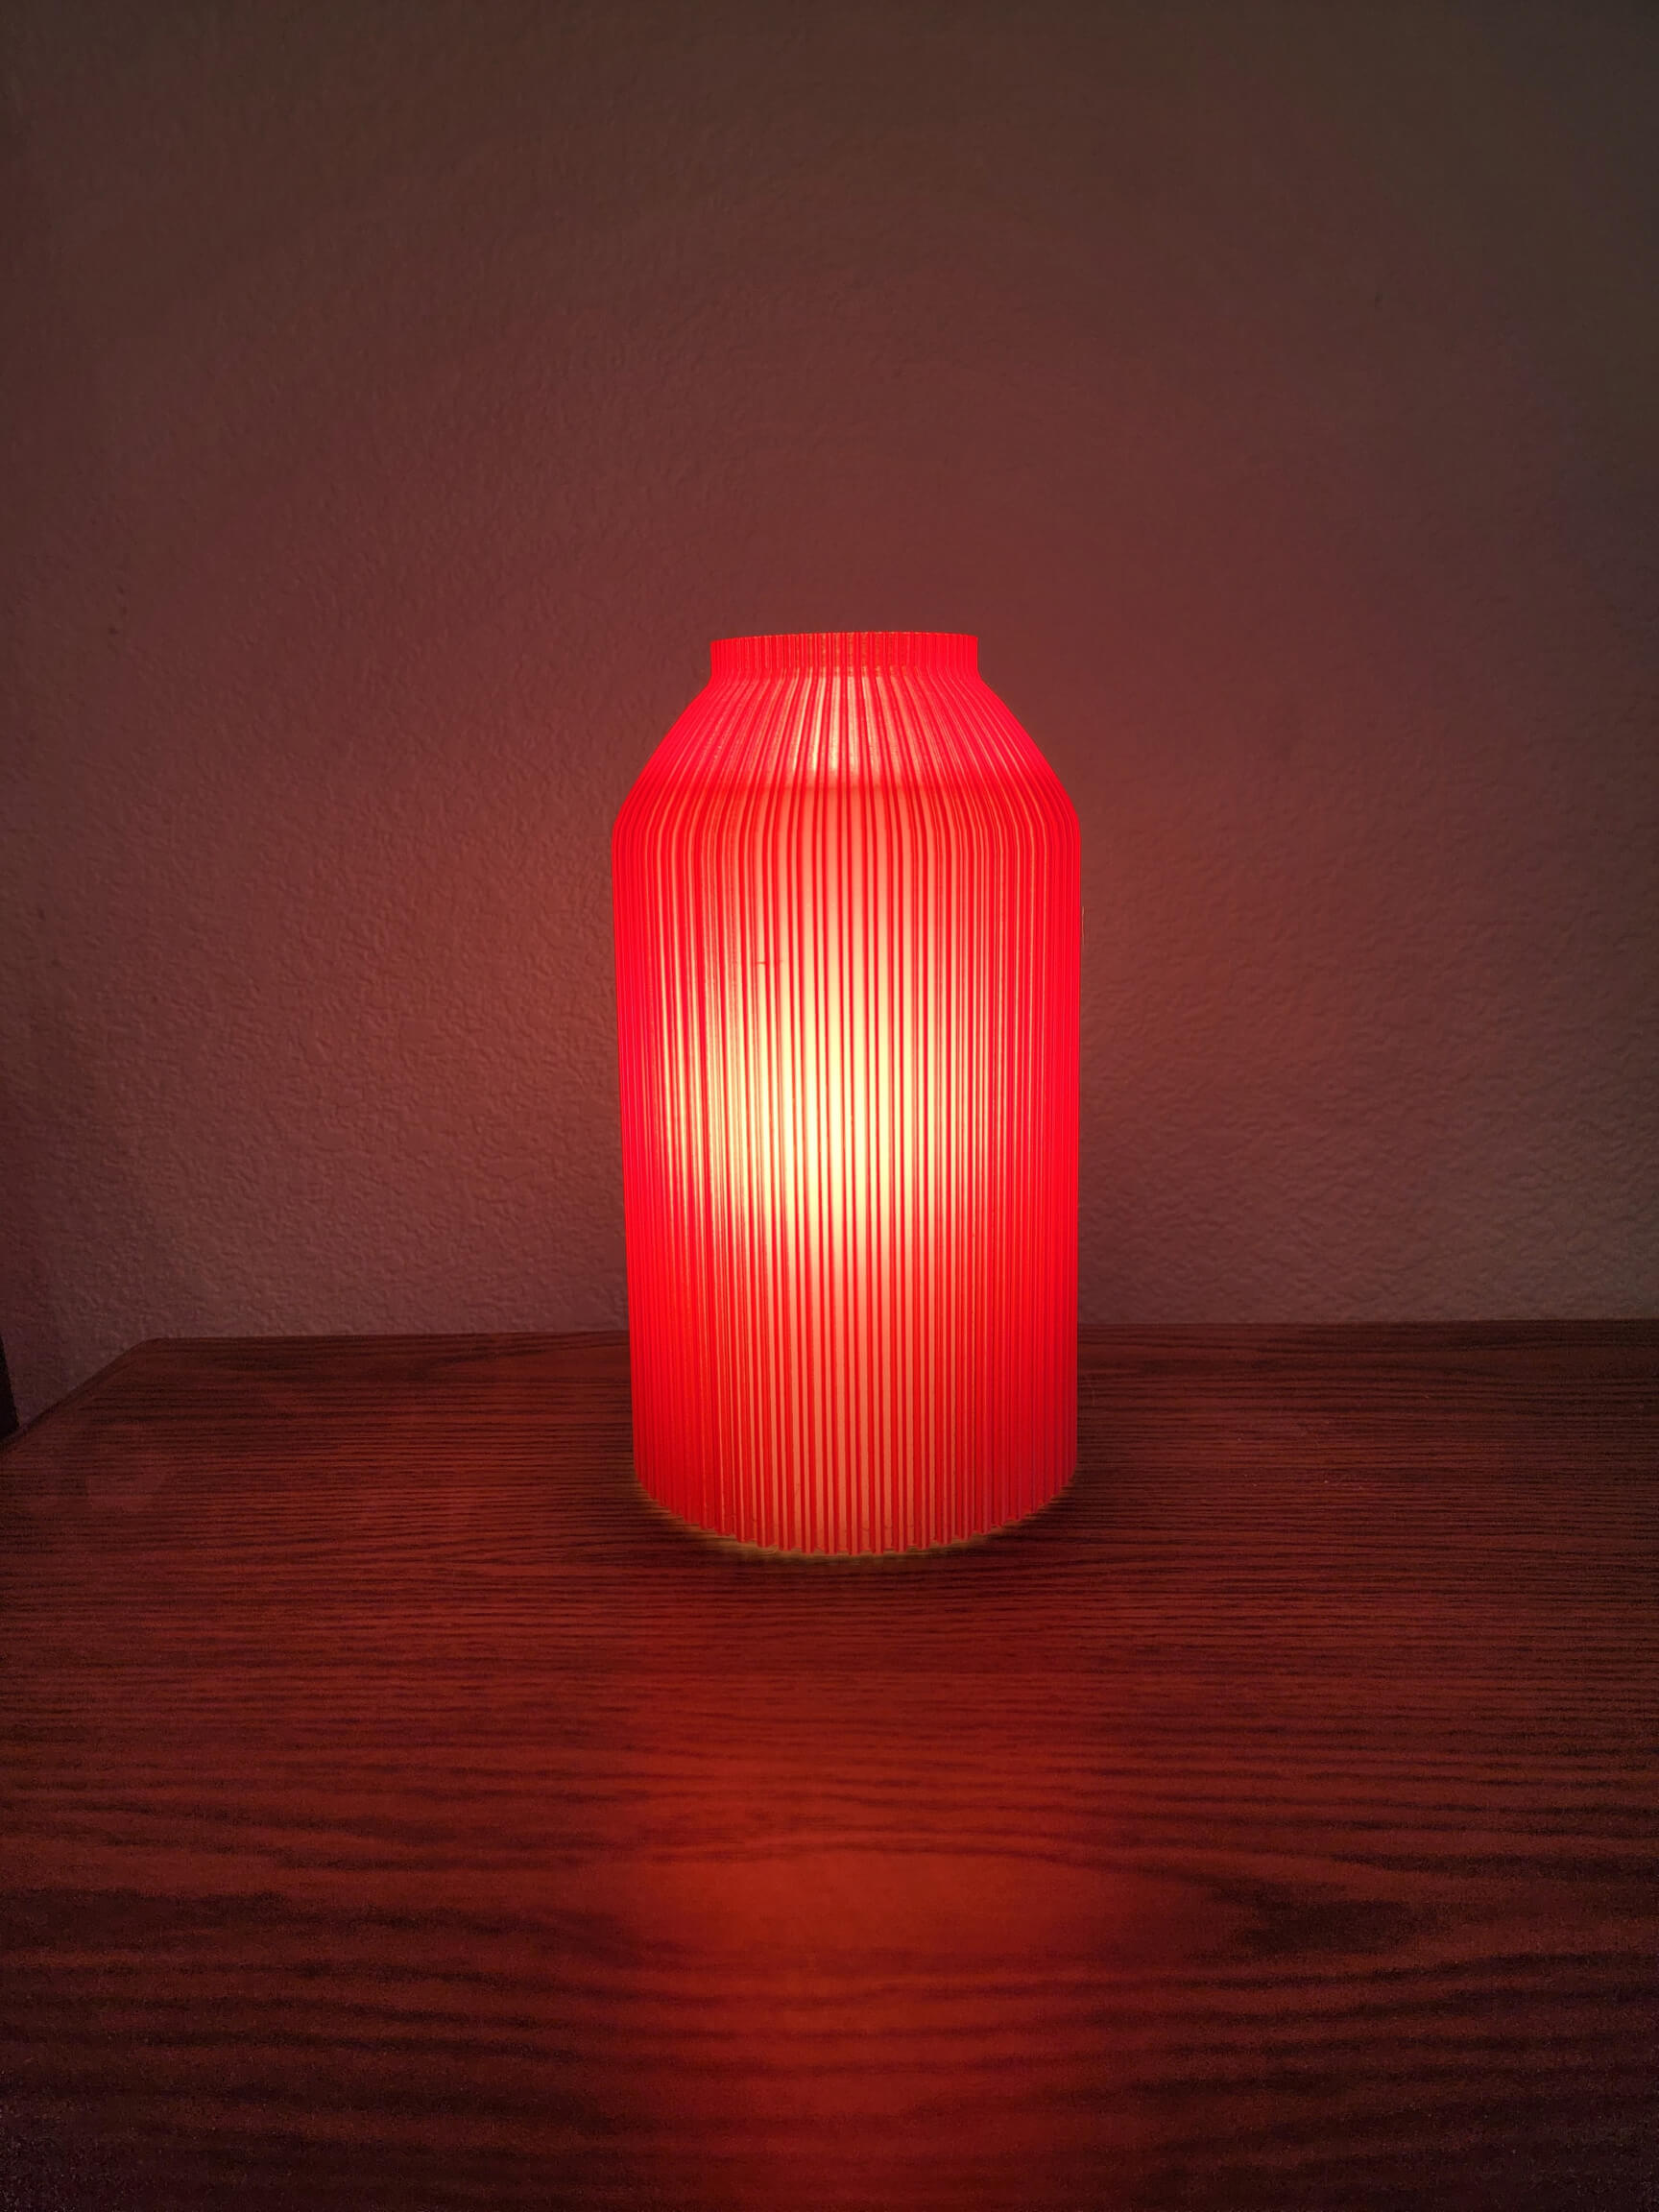
This is over 200mm tall and took about seven hours to print, and PETG always makes for a good lampshade.
Working with this printer has been a blast. It was easy to assemble and set up, though having included printer profiles would make that process better for new users. The build quality is high, with very few plastic components, and the motors are virtually silent, even when printing quickly; the fans are louder than the motion and they aren’t very loud so it’s a quiet printer. It’s also loaded with premium features that really make a big difference in the user experience, such as the flexible magnetic bed that most materials just stick to. There’s also filament runout detection and power loss resume, both of which I tested and they do work.A lot of people will like that it has auto bed leveling but I’d prefer that it have wifi printing instead. Material compatibility is important and this printer can’t do everything, but it passes the bar. And the fast printing is a true value add because time is money with 3D printing, and cutting print times by 50% is a significant advantage.
Overall, the SUNLU T3 is a solid printer with some serious output potential. If small batch production or fast turnaround times are important to you, the T3 will serve you well.